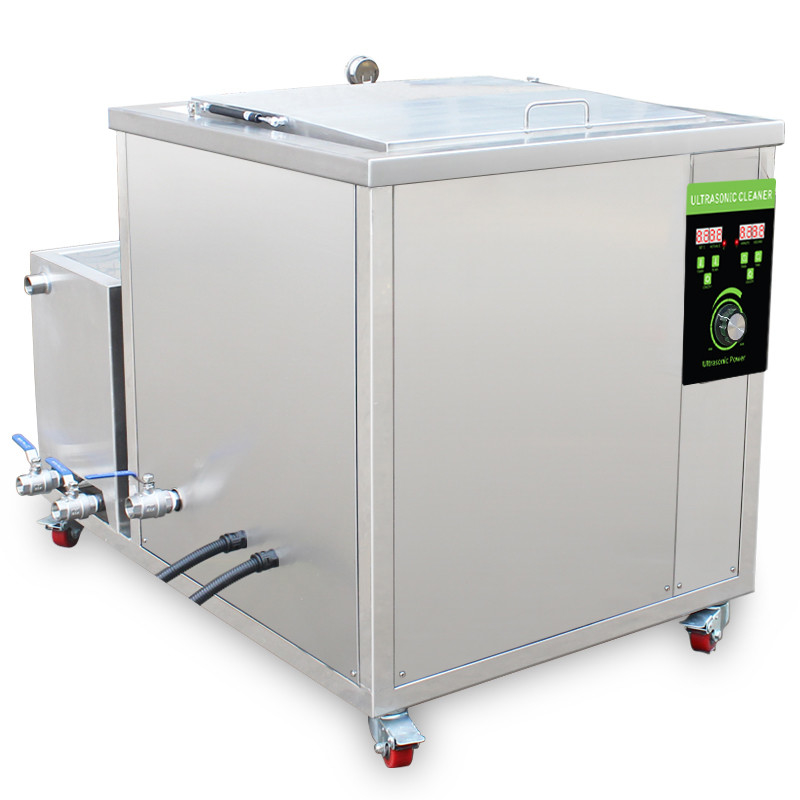
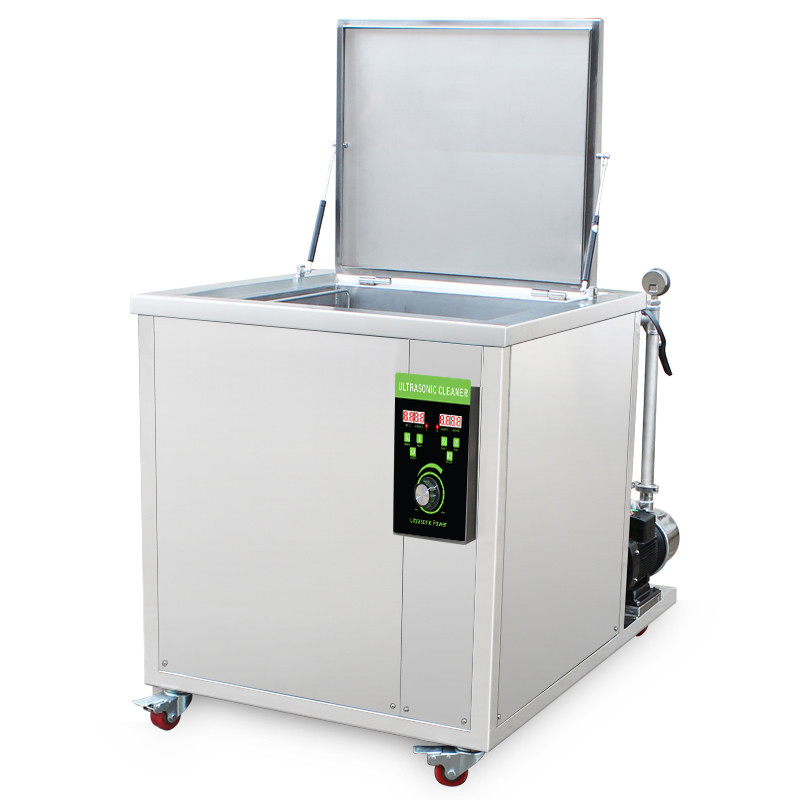
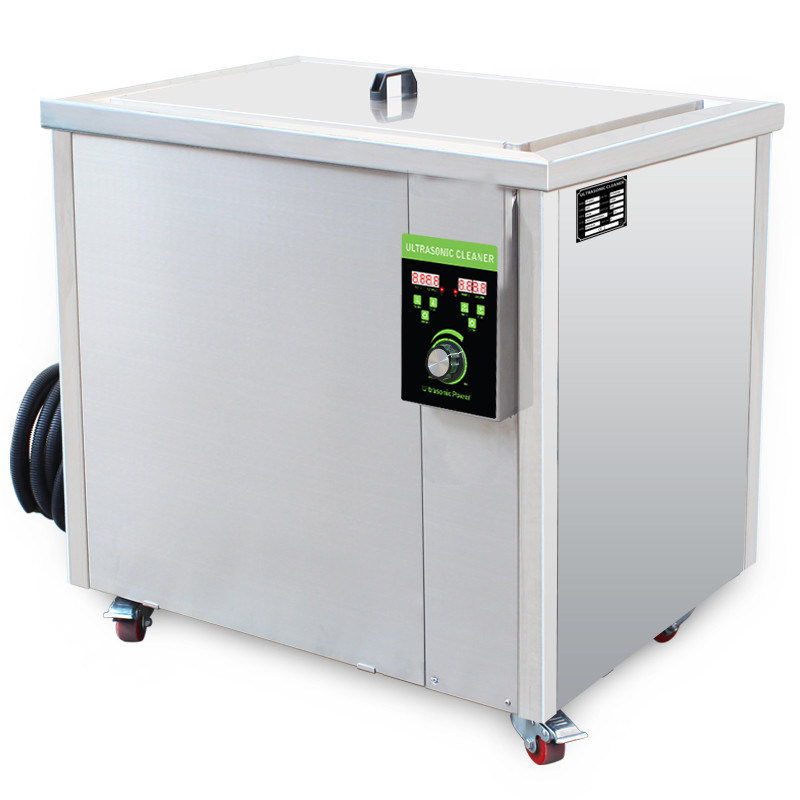
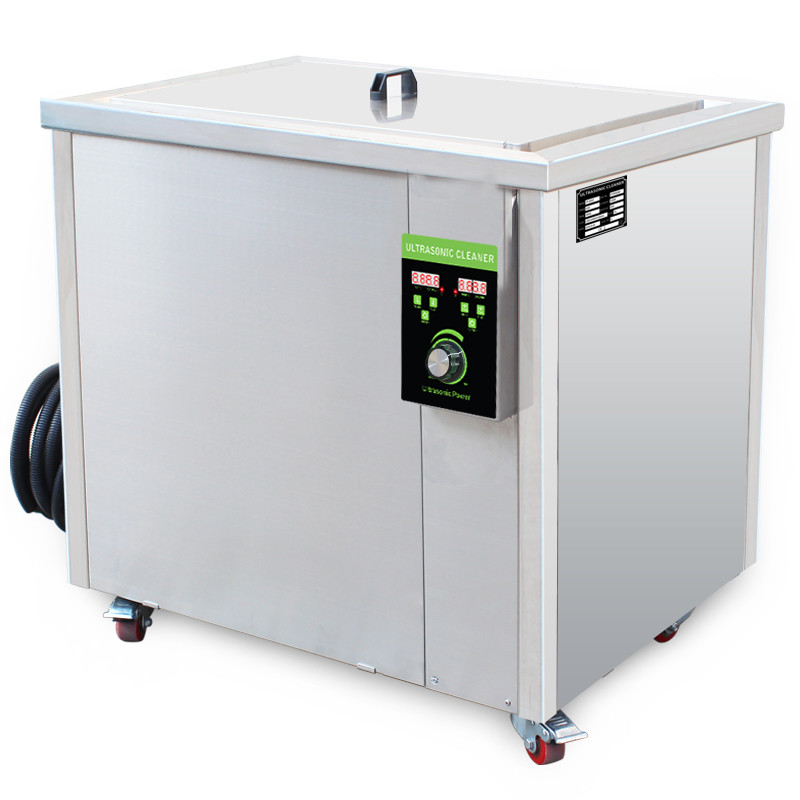
Stainless Steel Automatic Ultrasonic Cleaner Machine For Aircraft Parts
Saved more than 20 labor hours and minimized employee chemical exposure.
AGSONIC wasn’t the cheapest or the most expensive. They had an excellent product for the money and a commitment to customer service. AGSONIC is very easy to work with, even from 2,000 miles away. The retrofit and all other support needs have been handled in a very responsive manner. AGSONIC ’ dependability and service are part of our operational success. As far as our employees and management are concerned, our AGSONIC units are here to stay. For any future needs, AGSONIC is our 1 choice.
– Customer feedbaack Aerospace.
Why an Ultrasonic Cleaner is Ideal for Aircraft Parts
In three words: thorough, safe and fast. Contaminants missed by manual cleaning are usually those deep in crevices and on other surfaces impossible to reach. Moreover, highly finished mold surfaces can be scratched or otherwise damaged by manual processes. Large molds can be difficult to maneuver, further risking damage during manual cleaning. And the longer it takes to clean the molds the greater the risk of damage.
Ultrasonic cleaning action solves all three issues.
It is thorough because it reaches all mold surfaces immersed in a biodegradable water-based ultrasonic cleaning solution. It is safe because while the cleaning action can be termed “violent” it occurs so fast that highly polished injection mold surfaces are not damaged during the cleaning process. By fast we mean 10 to 15 minutes although large complex molds may require a longer cleaning cycle.
Aircraft Parts Cleaning by Cavitation Action
Cavitation action is described as the implosion of countless minute bubbles against surfaces of products immersed in the cleaning solution. Bubbles are created when generator-powered transducers bonded to the ultrasonic cleaner tank vibrate at ultrasonic frequencies measured in thousands of cycles per second or kilohertz (kHz).
Selecting the cleaning equipment is governed to a large extent by the size of molds being cleaned. Ultrasonic cleaners are available ranging from small benchtop units to industrial-sized floor-mounted equipment that can be fitted for automated cleaning and rinsing cycles. But do select a cleaner with a heater, timer and sweep mode.
The process is fairly straight forward regardless of equipment size. Here’s a simplified description that can be modified based on your specific operations:
1.Fill the ultrasonic cleaner with water but allow room for cleaning solution displacement due to the size of the molds being cleaned. Add the proper amount of biodegradable cleaning solution concentrate. Ask the scientists at Tovatech to recommend the correct formulation based on the type of contaminants you are removing and what the mold itself is made of.
2.When you are ready to clean place the injection molds in the cleaner basket. Take care that they do not contact each other. If you are cleaning large parts you may suspend them in the cleaning solution so they do not contact the tank bottom. Some industrial cleaners are equipped with bottom racks to support products being cleaned.
3.Set the heater to 65 C and timer from 10 to 60 minutes depending on the degree of contamination. Activate the sweep mode to assure uniform distribution of cavitation and promote uniform cleaning then lower the molds into the solution. With experience you will establish optimum cleaning conditions.
4.At the end of the cycle remove the molds and inspect. When satisfied, rinse them with fresh hot water and allow them to dry or blow them dry with compressed air. Note that intricate configurations and cavities may trap water that should be removed by adding an electric drying oven to your setup.
Rinsing tip: You’ll want to thoroughly remove cleaning solution residues. Complex shapes may call for a spray rinse or, in certain cases, rinsing by cavitation in an ultrasonic rinse tank.
How to Clean Large Aircraft Parts
Complex Aircraft Parts require careful cleaning.
Complex Aircraft Parts represent substantial investments by plastic injection molding companies which, in order to protect their investments, must establish cleaning procedures to remove a variety of stubborn contaminants. These include burned on residues, oils, flashing and grease that if allowed to remain will result in product rejection by the quality control department. Hand scrubbing with solvents simply does not do the job. In addition to being time consuming, manual cleaning introduces potential health hazards for personnel and solvent disposal challenges. The solution is using an ultrasonic cleaner instead of scrubbing in a solvent-based parts washer
Ultrasonics: The ONLY Way to Clean with Confidence
Regardless of the source of the dirt or contamination, AG Ultrasonic Cleaning Systems are designed to accommodate a wide variety of uses in diverse industries. Fast, effective and efficient, our machines will allow you to clean virtually any type of part or component. The following is just a short list of the many different types of items that have been cleaned using our systems.
- Automotive (Car, Truck, Motorcycle) See Video Below
- Aviation (Helicopters, Aircraft and Ground Support)
- Personal Boat & Marine
- Injection Molds
- Restaurants, Bakeries & Kitchens (Oven Filters, Burners, Pots, Pans, Utensils)
- Machines of All Types
- Tools, Nuts, Bolts
- Extrusion and Deburring
- Almost anything made out of metal (ferrous and non-ferrous), plastic, vinyl, and wood.
3 Aircraft Parts Ultrasonic Cleaner Specification :
| Model No. |
T-2060 |
| Ultrasonic tank size(mm) |
730 x 480 x 760 mm |
| Rinsing tank size(mm) |
730 x 480 x h760 |
| Capacity |
266L |
| Ultrasonic power |
3600W |
| Heating power |
9KW |
| Transducer numbers |
60pcs |
| Ultrasonic frequency |
28khz or 40khz |
| Timer |
0~30min adjustable |
| Heater |
20~80C adjustable |
| Material |
Stainless steel 304 |
| Power supply |
AC220V, 3phase , AC380V/415V 3phase |
| Optional |
Filtration system |


 Your message must be between 20-3,000 characters!
 Please check your E-mail!
  Your message must be between 20-3,000 characters!
 Please check your E-mail!
